RedHat
Red Hat系のLinuxディストリビュージョン
CentOS
、企業のサーバ構築を主目的としたOS。そのため安定しており信頼性が高い。
CentOSのダウンロード
http://www.centos.org/CentOSのインストール
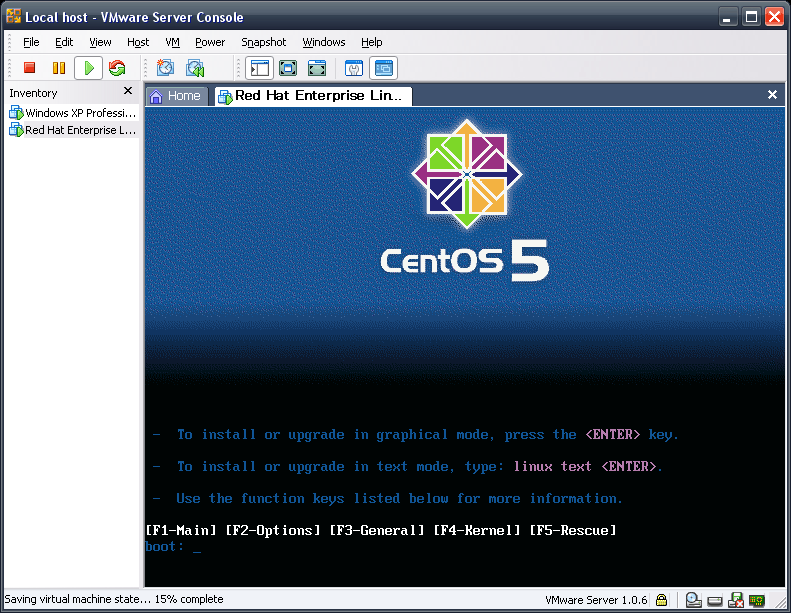
初期画面:Enter
CD Found: Skip
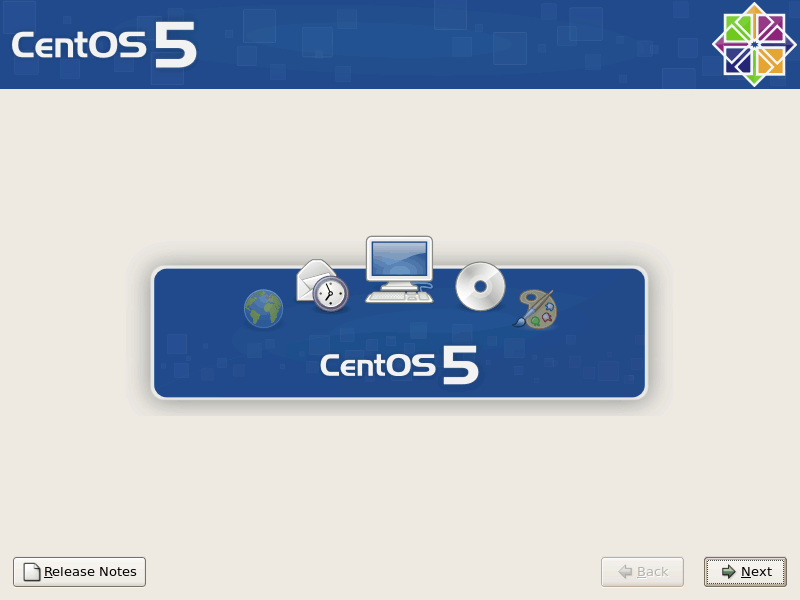
初期画面:Next
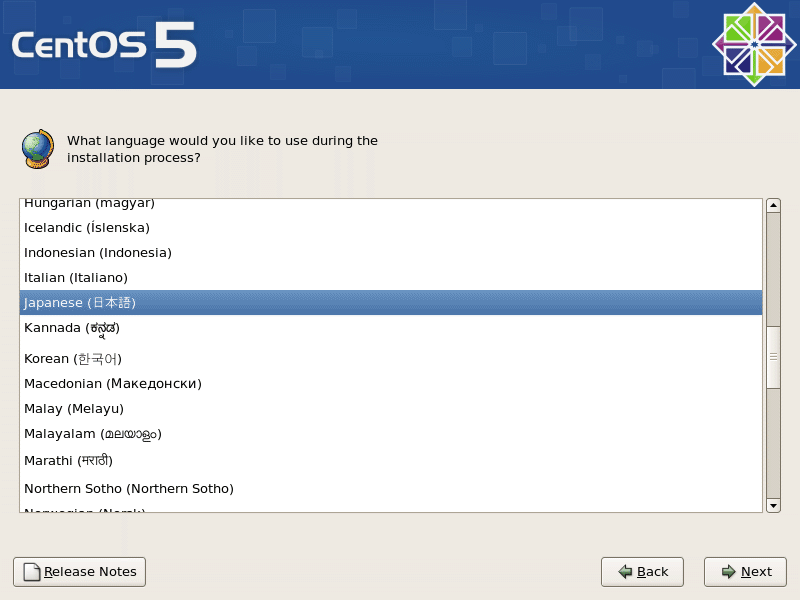
キーボードの種類:Japanense 日本語
地域選択: アジア/東京
rootパスワード入力: 任意の文字列
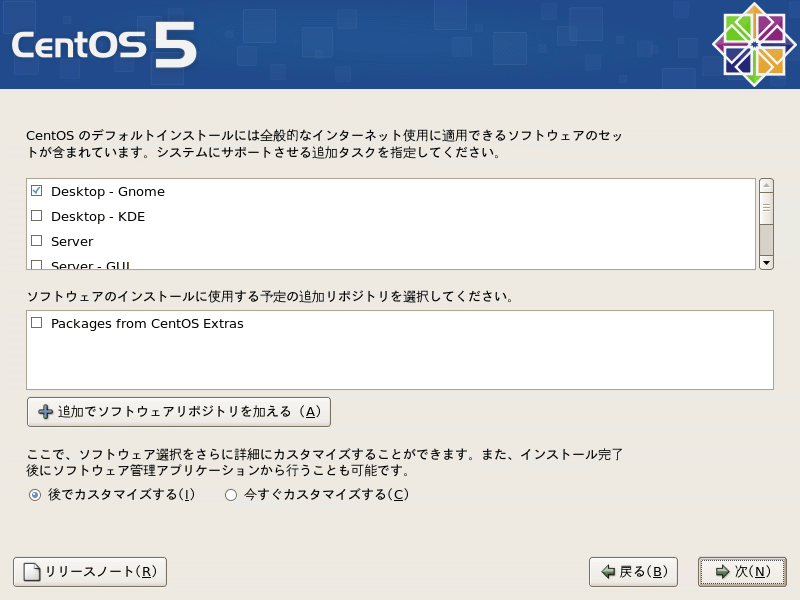
Desktop - Gnome にチェック
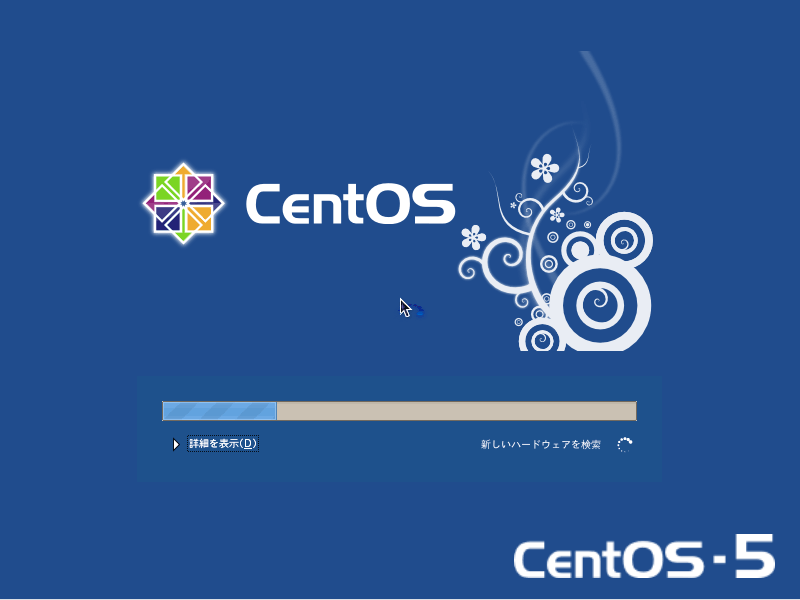
※この時点でインストールプロセスの開始に数分の時間がかかります。

あともうちょっとだけ続くのじゃよ。
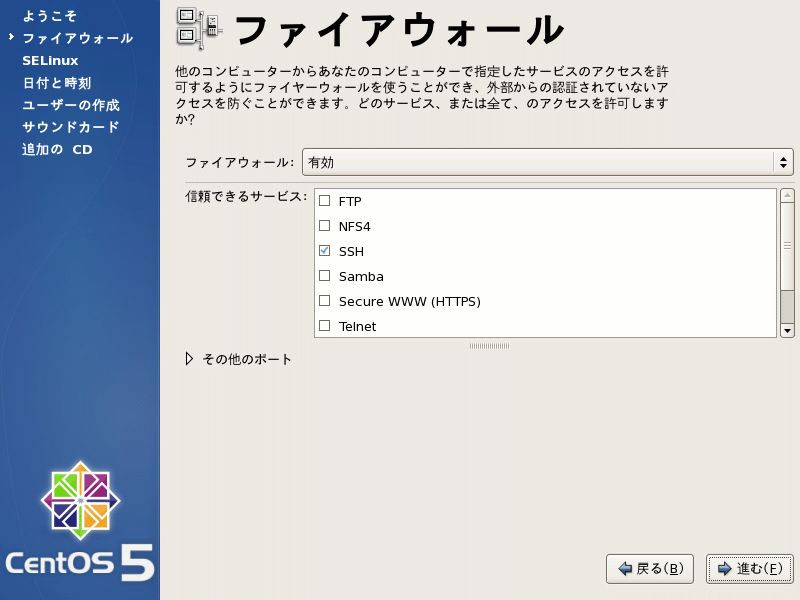
ファイアウォールの設定。
SELinux は無効に。
現在時刻の設定。
ユーザーアカウントの設定。
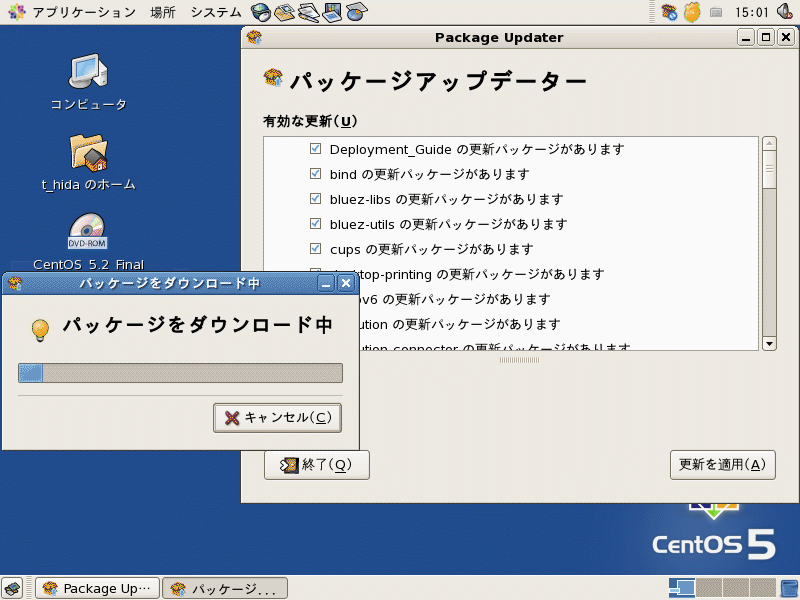
パッケージの更新
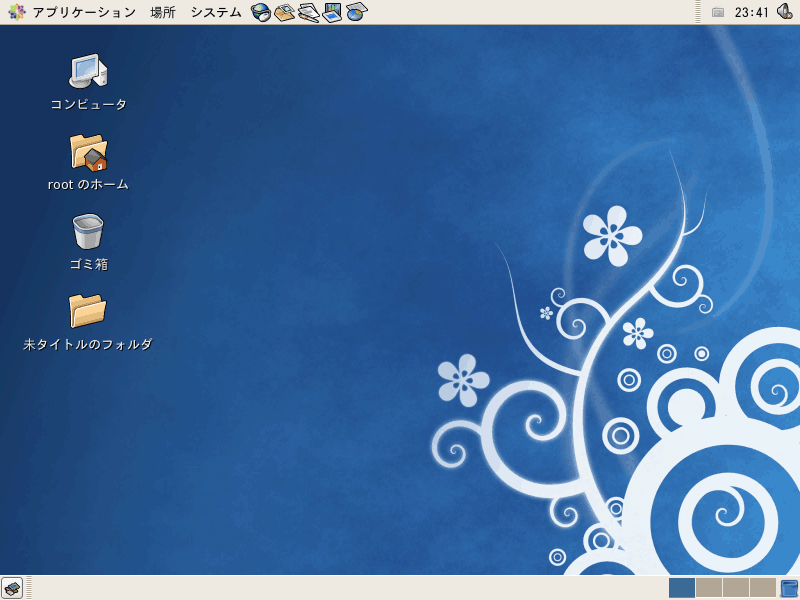
OSのデスクトップ画面にログインした後、右上に更新確認のバルーンが表示されるのでクリック。最新にアップデートする。
デスクトップ環境を止めて、コマンドライン環境にする
$ vi /etc/inittab


# この行を5から3に書き換える
#id:5:initdefault:

id:3:initdefault:
Fedora
LinuxのRedHat代表ディストリビューション。実験要素が高く、バージョン違いによる不具合も多いため、実用導入には向いていないかもしれない。
しかし、成長速度も速く最新のモジュールが手に入りやすく、ドキュメントも充実している。。
Fedoraのダウンロード
http://fedoraproject.org/CentOSでBフレッツ接続
yum -y install gcc


# wget http://www.roaringpenguin.com/files/download/rp-pppoe-3.10.tar.gz
tar zxvf http://www.roaringpenguin.com/files/download/rp-pppoe-3.10.tar.gz
cd rp-pppoe-3.10
./go

>>> Enter your PPPoE user name (default xxxxx@sympatio.ca) : *****@***.so-net.ne.jp
(プロバイダから与えられた接続用IDを入力)

>>> Enter the Ethernet interface connected to the DSL modem
(default eth0): (空白でEnter) (ルータとして使う場合はeth1)

>>> Enter the demand value (default no):(空白でEnter)

>> Enter the DNS information here: ***.***.***.***
(プロバイダから与えられたプライマリDNSサーバを入力)

>>> Enter the secondary DNS server address here:***.***.***.***
(プロバイダから与えられたセカンダリDNSサーバを入力)

>>> Please enter your PPPoE password:
(プロバイダから与えられた接続用パスワードを入力)
>>> Please re-enter your PPPoE password:
(再び同じ接続用パスワードを入力)

>>> Choose a type of firewall (0-2):1 (ルータとして使う場合は2)

0-NONE
1-STANSDALONE
2-MASQUEREDE

>>> Accept these setting and adjust configuration files (y/n)? (設定の確認。yを入力)

# pppoe-start
.. Connected!
パッケージ管理
yum
rpm -q | grep apache
yum install apache
yum update apache